Introduction
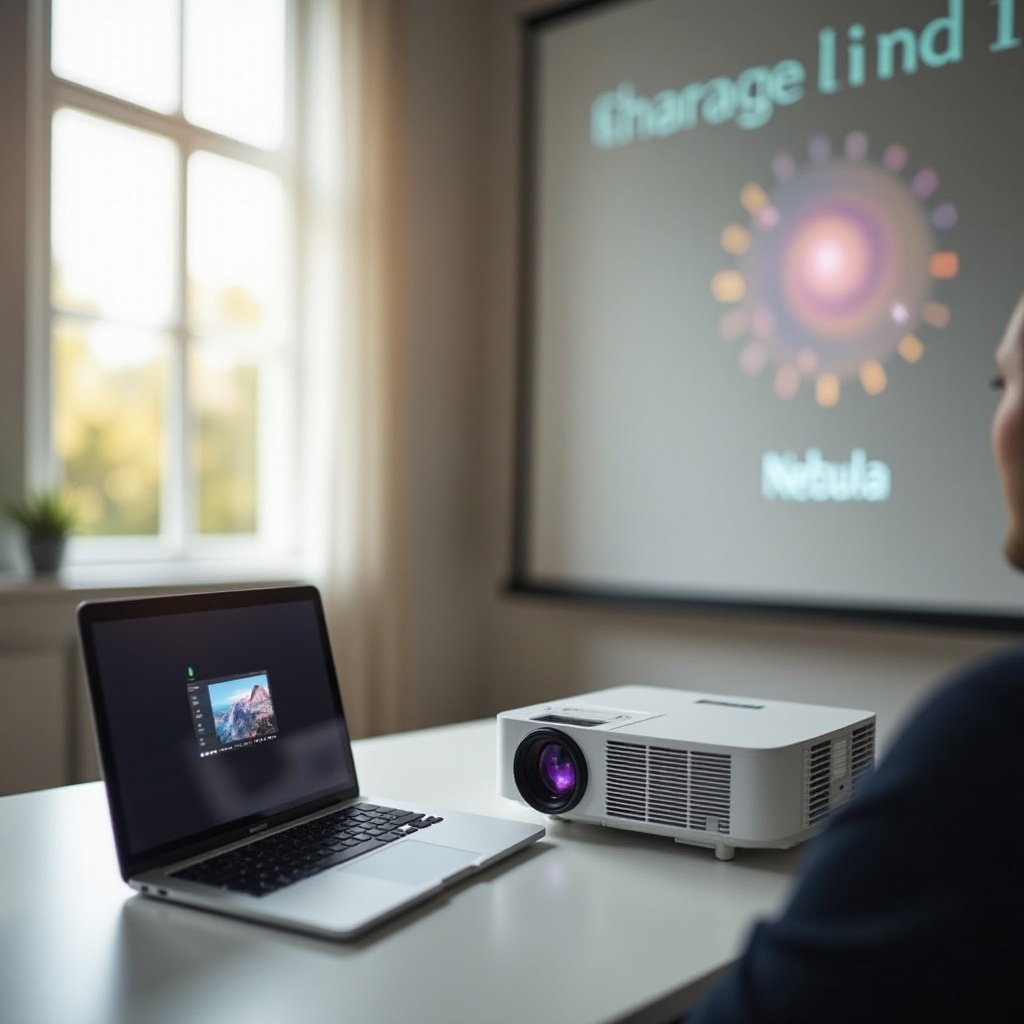
Connecting a MacBook to a Nebula projector without an HDMI cable might seem challenging at first, but with the right techniques, it’s quite straightforward. Many users prefer wireless connectivity to avoid the clutter of cables and to enjoy greater mobility. Fortunately, MacBook and Nebula projectors support several wireless methods, ensuring you can project your screen effortlessly.
To establish a connection without HDMI, you can use options like AirPlay, Bluetooth, and third-party apps designed for screen mirroring. This guide will take you through the steps to prepare your devices, establish a connection, and troubleshoot potential issues.

Preparing Your Devices for Wireless Connection
Before diving into the various methods of connecting your MacBook to a Nebula projector, ensure that both devices are ready for a wireless connection.
- Check Compatibility: Confirm that your Nebula projector supports wireless connectivity methods such as AirPlay, Bluetooth, or any third-party apps.
- Update Software: Ensure that both your MacBook and Nebula projector are running the latest software versions. This updates necessary drivers and security patches.
- Network Connection: Both devices need to be on the same Wi-Fi network for seamless connectivity. Verify that the network is stable and has sufficient bandwidth.
Preparing your devices properly is crucial for a smooth setup. Once the initial preparations are done, you can move on to the specific methods of connecting.
Connecting via AirPlay
AirPlay is one of the most convenient ways to connect your MacBook to a Nebula projector wirelessly. It enables you to mirror your screen effortlessly and stream high-quality video and audio.
- Enable AirPlay on Nebula Projector:
- Navigate to the settings menu on your Nebula projector.
-
Look for the AirPlay option and ensure that it is turned on.
-
Connect MacBook:
- Click on the AirPlay icon located in the menu bar of your MacBook.
- Select your Nebula projector from the list of available devices.
-
Your MacBook screen should now be mirrored to the projector.
-
Adjust Settings:
- You can adjust the mirroring options from your MacBook, like aspect ratio and resolution, to better fit the projector’s display.
Using AirPlay ensures a high-quality connection with minimal lag. If you encounter any issues, consider the alternative methods explained below.

Bluetooth Connectivity Explained
Bluetooth is another option for connecting your MacBook to a Nebula projector. While it’s not as commonly used for screen mirroring, it can be useful for audio and certain basic functionalities.
- Pairing Devices:
- Turn on Bluetooth on both your MacBook and Nebula projector.
- On your MacBook, navigate to System Preferences > Bluetooth.
-
Locate your projector in the list of available devices and click to pair.
-
Audio Streaming:
-
Once paired, you can stream audio from your MacBook to the projector. This is useful for presentations where audio quality is important.
-
Limited Screen Mirroring:
- Some projectors may offer limited screen mirroring options over Bluetooth. Check the user manual of your Nebula projector for specific instructions.
While Bluetooth connectivity may not offer the robust capabilities that AirPlay does for screen mirroring, it’s an excellent backup method particularly useful for audio streaming.
Using Third-Party Apps for Screen Mirroring
If AirPlay and Bluetooth don’t meet your needs, several third-party apps can help. These apps are designed to enable seamless screen mirroring from your MacBook to your Nebula projector.
- Download Screen Mirroring App:
- Popular choices include Reflector, AirServer, and Mirroring360.
-
Install the chosen app on both your MacBook and Nebula projector.
-
Set Up Connection:
- Open the app on both devices.
-
Follow the on-screen instructions to establish a connection. This usually involves ensuring both devices are on the same Wi-Fi network and entering a pairing code.
-
Advanced Features:
- Many third-party apps offer advanced features like recording, multi-device support, and customized settings for resolution and audio.
Third-party apps often provide more flexibility and additional features. Choose one based on your specific requirements and the capabilities of your projector.

Troubleshooting Common Issues
Despite best efforts, you may encounter some issues during the setup. Here are common problems and their solutions:
- Connection Drops:
- Ensure both devices are within a reasonable range of the Wi-Fi router.
-
Check for interference from other wireless devices.
-
Audio-Lag:
- Use a high-quality and stable network to minimize lag.
-
Adjust audio settings on both devices.
-
Projection Quality:
- Adjust the resolution settings on your MacBook.
- Ensure the projector’s lens is clean and properly focused.
Troubleshooting these common issues can help maintain a stable and high-quality connection between your MacBook and Nebula projector.
Conclusion
Connecting your MacBook to a Nebula projector without HDMI is not only possible but straightforward with the right steps. By using methods like AirPlay, Bluetooth, and third-party apps, you can achieve a seamless and wireless connection. Preparing your devices correctly and knowing how to troubleshoot common issues will enhance your overall experience.
Wireless connectivity offers greater convenience and flexibility, allowing you to present, entertain, or work more efficiently. Remember to explore all the available options to find the one that best suits your needs.
Frequently Asked Questions
Can I connect my MacBook to my Nebula projector using a USB-C cable?
Yes, you can use a USB-C cable for a wired connection if both your MacBook and Nebula projector have USB-C ports. This can serve as an alternative if wireless methods are not available.
What should I do if the AirPlay connection keeps dropping?
Ensure both devices are within range of the Wi-Fi router and check for interference. Stability can improve by restarting both devices and making sure no other devices heavily load the network.
Are there any apps I need to install on my Nebula projector to use AirPlay or Bluetooth?
For AirPlay, no additional app is necessary. For Bluetooth audio streaming, you don’t need an app. Third-party screen mirroring apps might require installations on both the MacBook and projector for advanced mirroring features.
